Follow the steps below to create a signature for your email messages that you can add automatically to all outgoing messages or manually to specific ones.
NOTE: You can have only one signature per account.
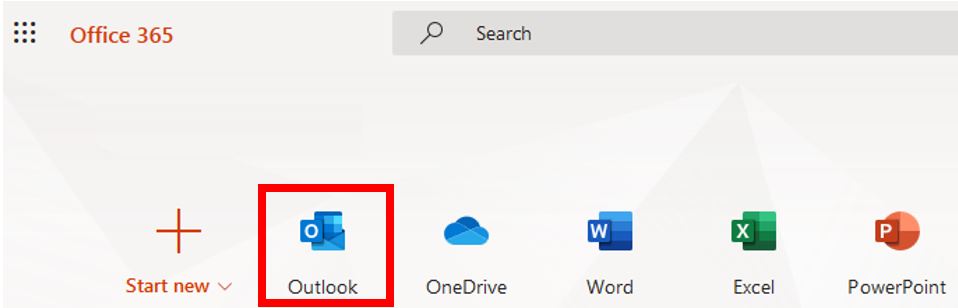
Step 1. Open Outlook online
Step 2. Go to Settings  then View all Outlook settings then Compose and reply.
Step 3. Under Email signature, type your signature and use the available formatting options to change its appearance.
Step 4. Select the Automatically include my signature on new messages I compose check box for your signature to appear at the bottom of all new email messages that you compose.
Step 5. Then select Save on completion
Manually add your signature to a new message
If you've created a signature, but didn't choose to automatically add it to all outgoing messages, you can add it later when you write an email message.
Step 1. Go to your mailbox and choose New message.
Step 2. Type your message, and then choose  Insert signature at the bottom of the compose pane.
Step 3. When your email message is ready, choose Send.