- You are here:
-
Home

-
Knowledge Base
-
Outlook Online
- Outlook Mail Online
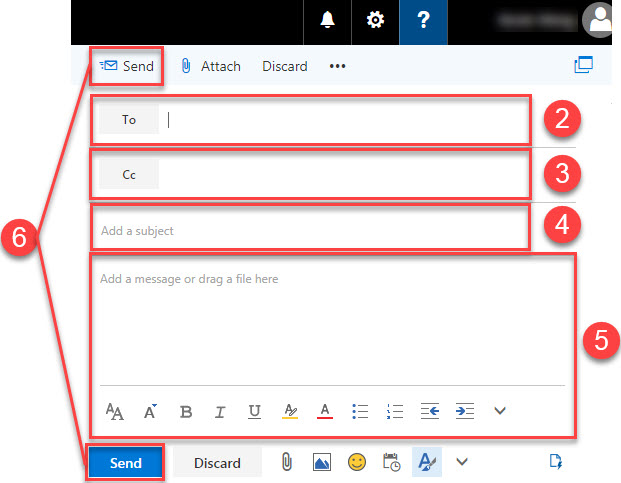
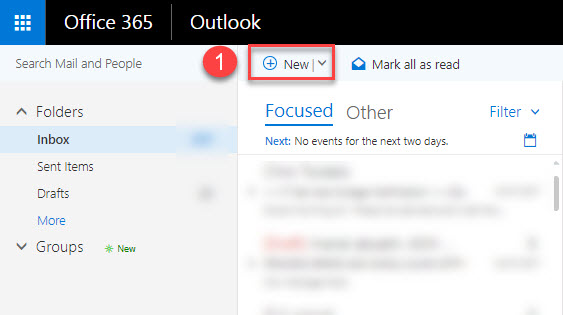
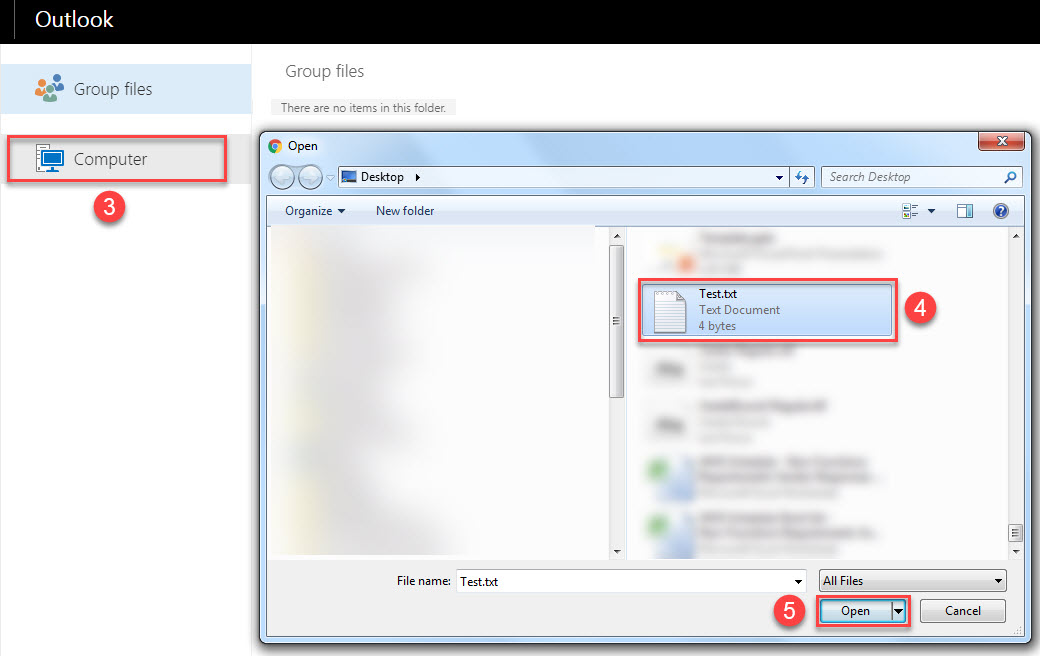
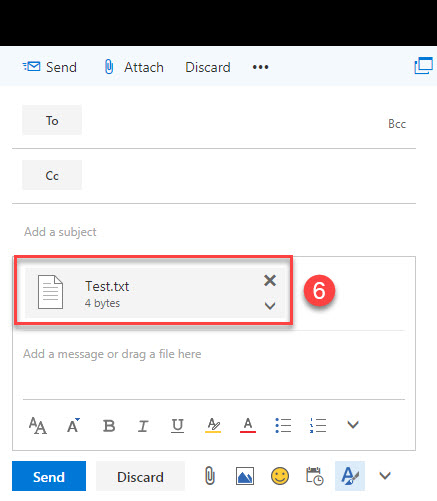
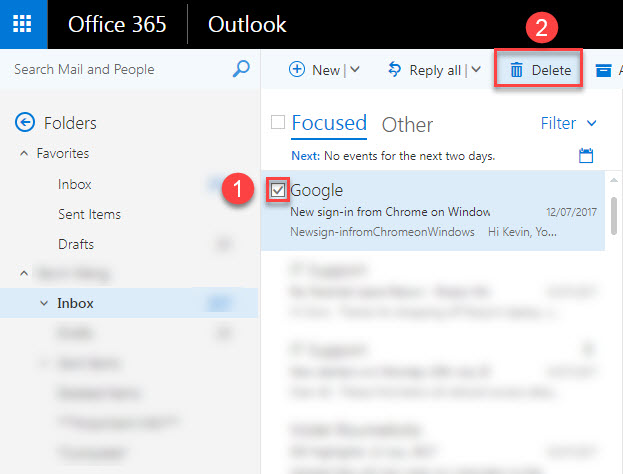
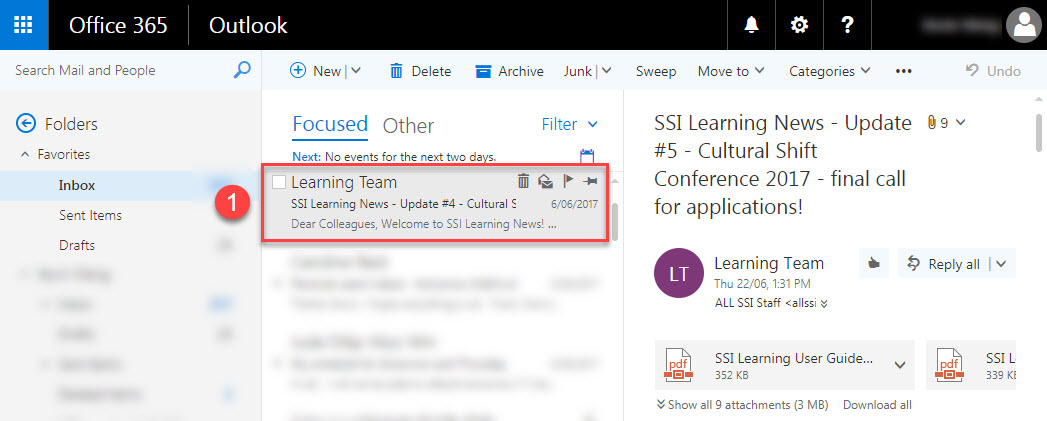
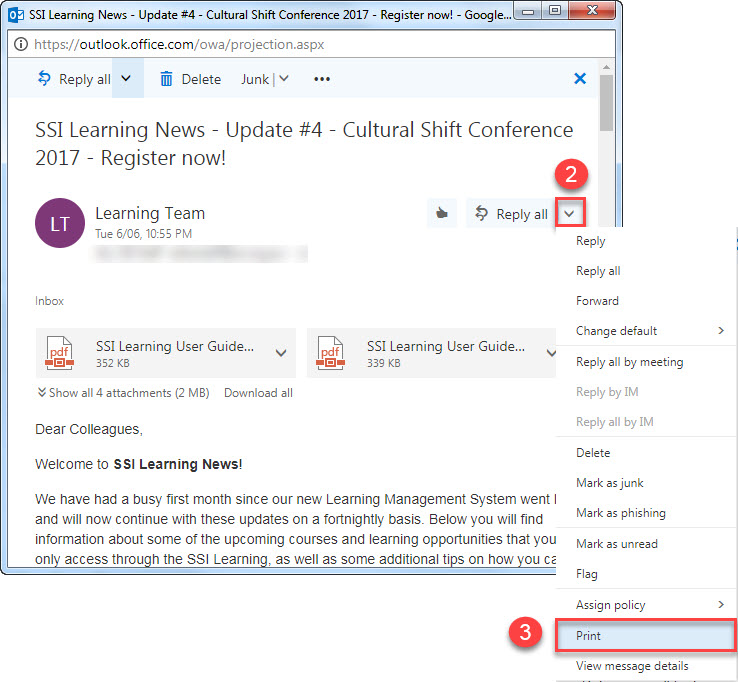
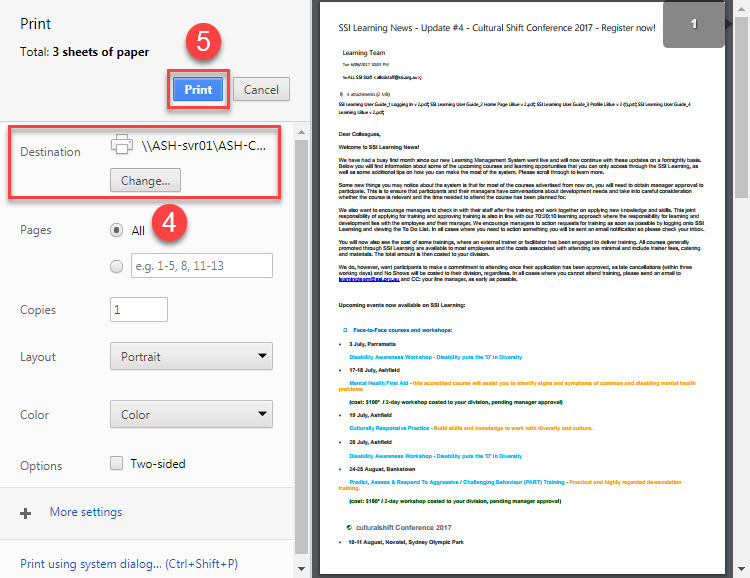
![]() Email
Email
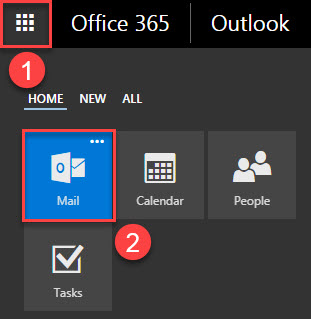


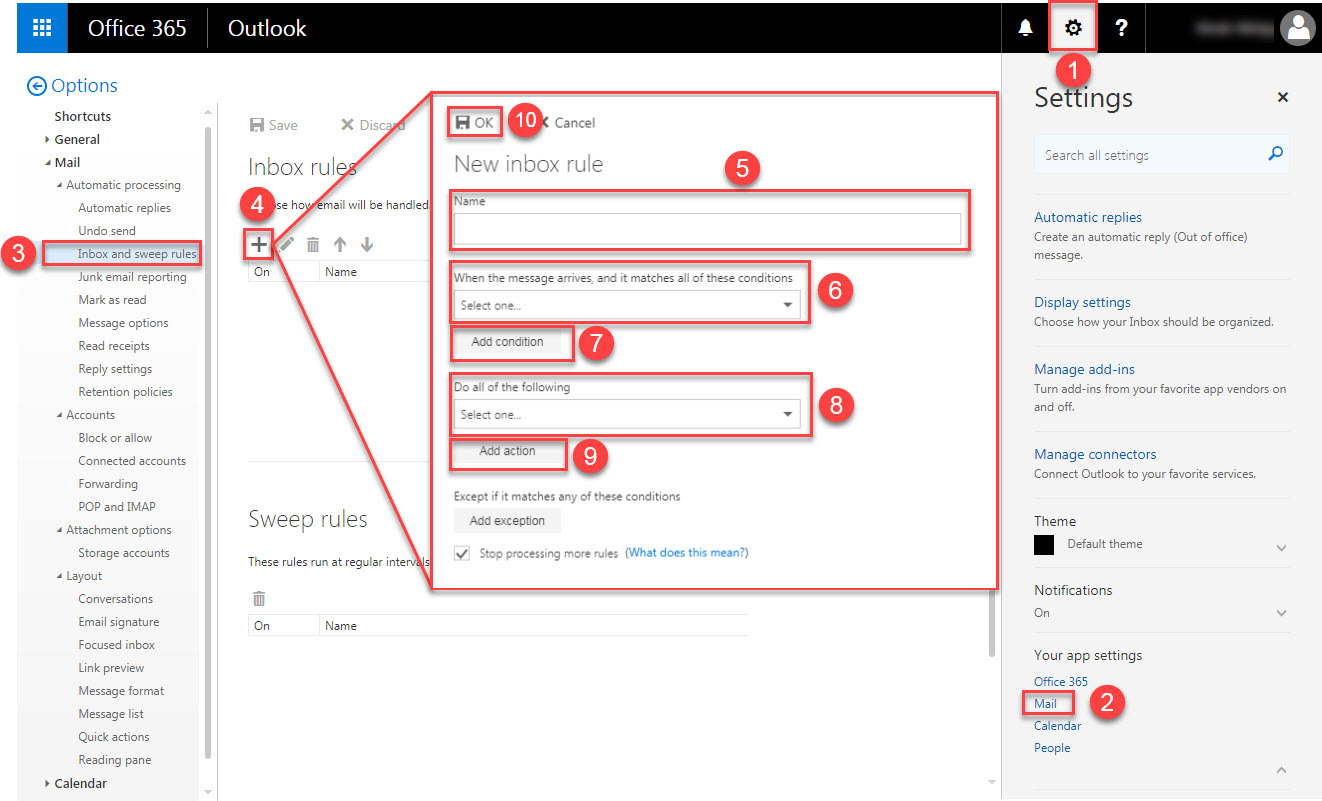
- Click on the Settings gear icon in the upper right hand corner of the window to open the Settings
- Click Mail under Your app settings at the bottom of the menu to open the Options menu on the left.
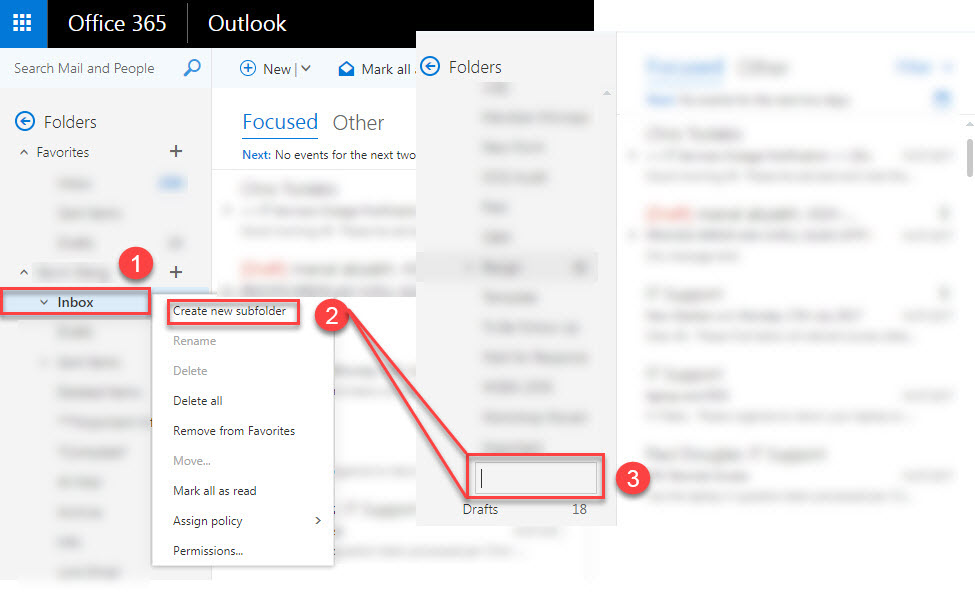
- Click Inbox and sweep rules under Automatic processing in the Options menu.
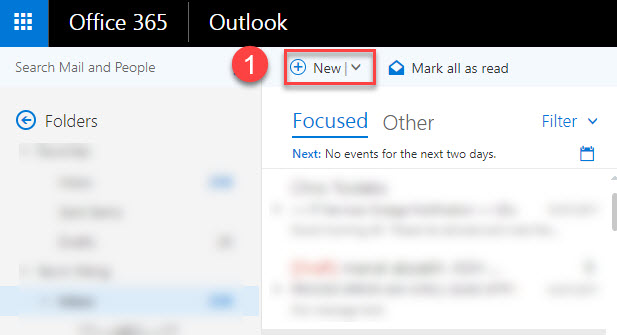
- Click the + icon under inbox rules.
- Name the filter under New inbox rule.
- Select required conditions.
- If required, add additional condition.
- Select required actions.
- If required, add additional action.
- Click OK to save.


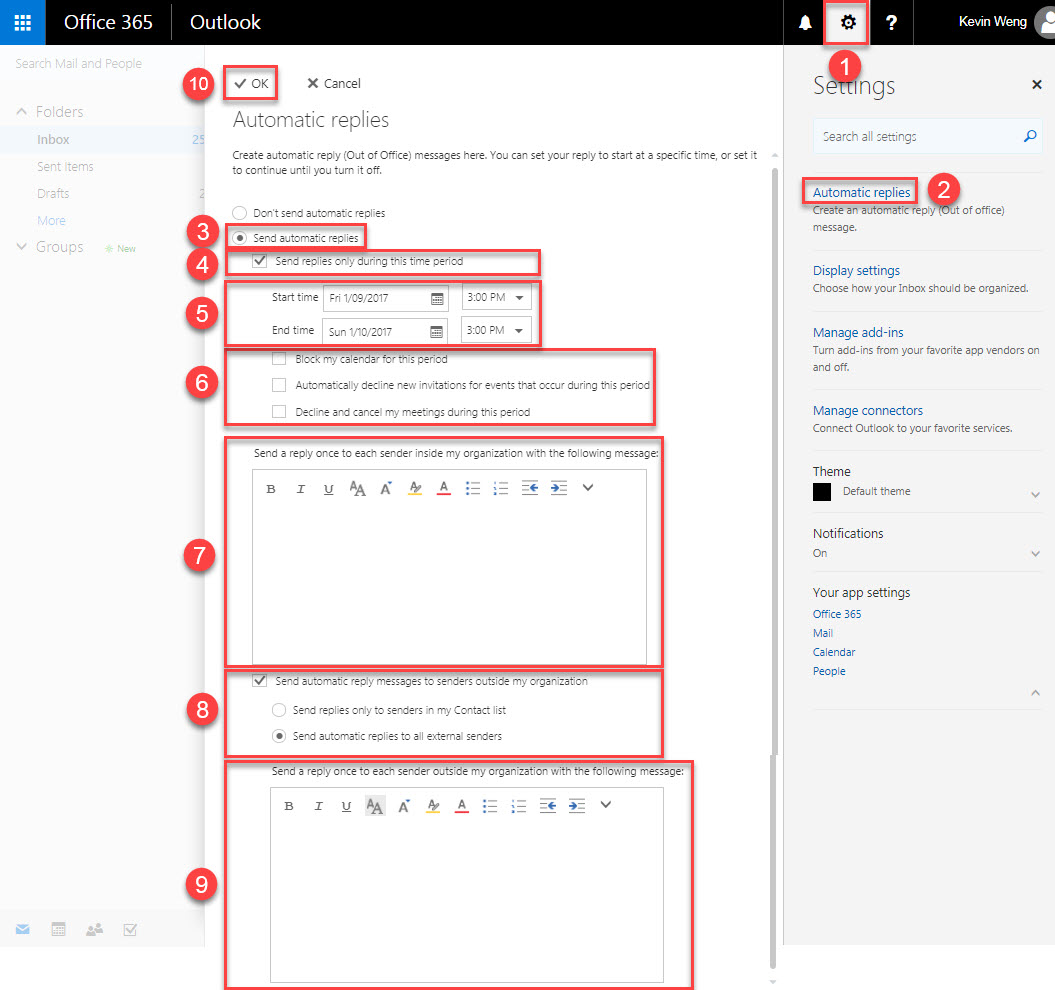
- Click the Settings gear icon in the upper right hand corner of the window to open the Settings
- Click Automatic replies.
- Select the Send automatic replies radio button.
- Tick the checkbox to allow send replies only during the selected period.
- Select the start date and time then select the end date and time.
- If required, tick the checkboxes to allow blocking your calendar for this period, automatically declining new invitations for events that occur during this period and declining and cancel your meetings during this period.
- Add a reply message to each sender inside your organisation.
- If required, tick the checkbox to all sending automatic reply to senders outside your organisation then select the radio option.
- If required, add a reply message to each sender outside your organisation.
- Click OK to save.